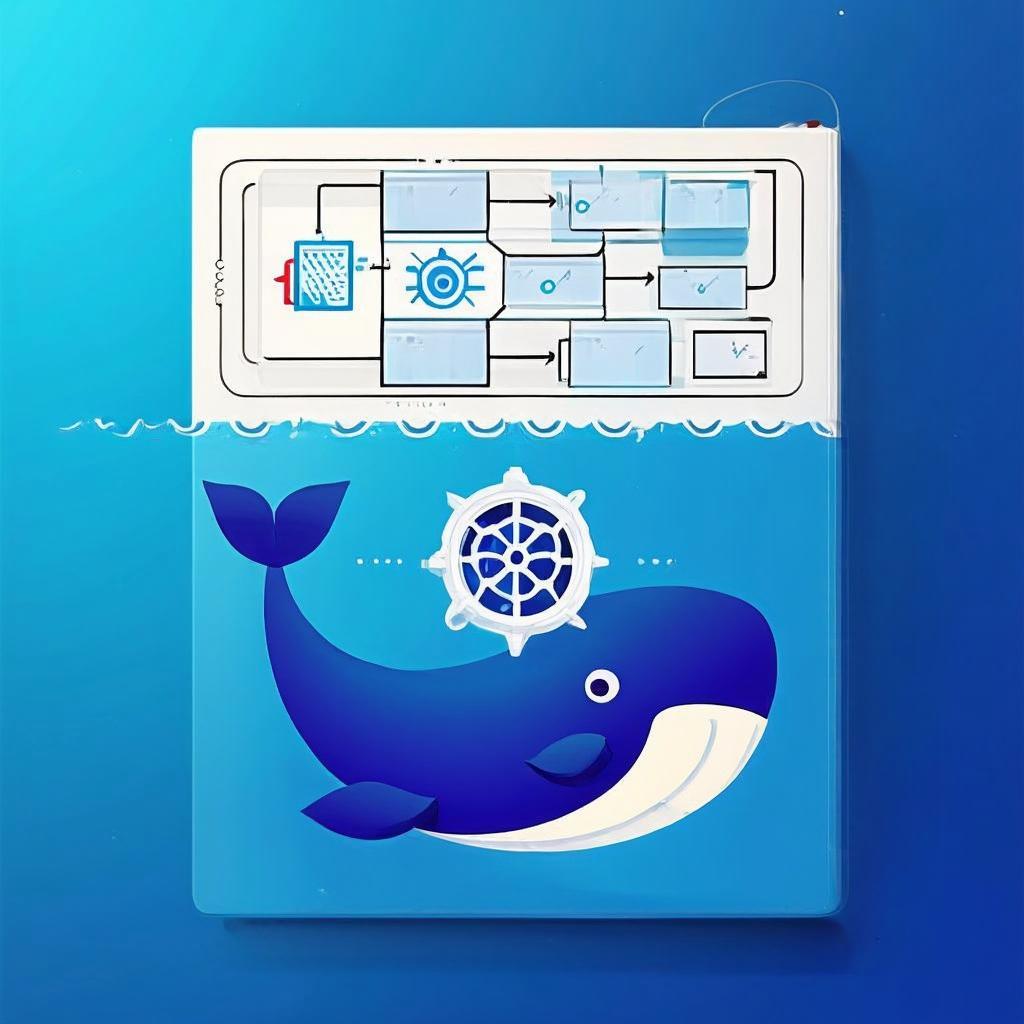
Running an astrology app in production means handling spikes during Mercury retrograde, solar eclipses, and New Year — when every astrology site in the world gets traffic simultaneously. Docker and Kubernetes give you the containerization and horizontal scaling infrastructure to handle these spikes gracefully, with zero-downtime rolling deploys and self-healing pods.
This guide walks through the complete DevOps pipeline for a Node.js astrology app powered by Vedika API — the only B2B astrology API with AI-powered conversational capabilities, 516+ endpoints, and Vedika Ephemeris precision. You'll build a production-ready Dockerfile, docker-compose for local development, Kubernetes manifests, secrets management, health checks, and a GitHub Actions CI/CD pipeline.
What You'll Build: A containerized Node.js astrology app with a multi-stage Dockerfile (production image under 150MB), docker-compose for local dev, a Kubernetes Deployment with HPA scaling, a Service and Ingress, Vedika API keys in K8s Secrets, and a GitHub Actions workflow that builds, tests, and deploys on every push.
Prerequisites
- Docker Desktop installed (Docker 25+)
- kubectl configured for a Kubernetes cluster (GKE, EKS, AKS, or minikube)
- A Node.js astrology app using Vedika API (see our JavaScript tutorial)
- Vedika API key — get yours here
- A container registry (Docker Hub, GitHub Container Registry, or GCR)
Step 1: Multi-Stage Dockerfile
A multi-stage build produces a minimal production image by separating the build environment from the runtime environment. This is critical for production astrology apps — the builder stage has TypeScript compiler and dev tools; the production stage has only what's needed to run:
FROM node:20-alpine AS builder
WORKDIR /app
COPY package*.json ./
RUN npm ci --include=dev
COPY tsconfig.json ./
COPY src/ ./src/
RUN npm run build
FROM node:20-alpine AS production
WORKDIR /app
RUN addgroup -S appgroup && adduser -S appuser -G appgroup
COPY package*.json ./
RUN npm ci --omit=dev && npm cache clean --force
COPY --from=builder /app/dist ./dist
USER appuser
HEALTHCHECK --interval=30s --timeout=10s --start-period=30s --retries=3 \
CMD wget -qO- http://localhost:3000/health || exit 1
EXPOSE 3000
CMD ["node", "dist/index.js"]
Node.js Health Check Endpoint
Add a lightweight /health endpoint that Kubernetes probes will hit. It must respond quickly — under 5 seconds:
import { Router } from 'express';
const router = Router();
router.get('/health', (req, res) => {
res.json({
status: 'ok',
timestamp: new Date().toISOString(),
uptime: process.uptime(),
version: process.env.npm_package_version
});
});
router.get('/ping', (req, res) => res.send('pong'));
export default router;
Test the Build
docker build -t astrology-app:latest .
docker images astrology-app
docker run -p 3000:3000 \
-e VEDIKA_API_KEY=vk_live_your_key \
-e NODE_ENV=production \
astrology-app:latest
curl http://localhost:3000/health
Step 2: Docker Compose for Local Development
Docker Compose gives your team a one-command local environment with hot reload and all services running together:
version: '3.9'
services:
app:
build:
context: .
target: builder
command: npm run dev
ports:
- "3000:3000"
volumes:
- ./src:/app/src:ro
- /app/node_modules
env_file:
- .env
environment:
- NODE_ENV=development
restart: unless-stopped
redis:
image: redis:7-alpine
ports:
- "6379:6379"
volumes:
- redis-data:/data
volumes:
redis-data:
docker compose up
docker compose up -d
docker compose logs -f app
docker compose down
Step 3: Kubernetes Secrets for API Key Management
Never put API keys in Kubernetes Deployment YAML — they end up in git history. Use Kubernetes Secrets, which are stored encrypted in etcd:
kubectl create secret generic vedika-secret \
--from-literal=VEDIKA_API_KEY=vk_live_your_key_here \
--from-literal=NODE_ENV=production
kubectl get secret vedika-secret -o yaml
kubectl create secret generic vedika-secret \
--from-literal=VEDIKA_API_KEY=$VEDIKA_API_KEY \
--dry-run=client -o yaml | kubectl apply -f -
Step 4: Kubernetes Deployment Manifest
The Deployment manages your app pods with rolling updates, health probes, and resource limits:
apiVersion: apps/v1
kind: Deployment
metadata:
name: astrology-app
labels:
app: astrology-app
spec:
replicas: 2
selector:
matchLabels:
app: astrology-app
strategy:
type: RollingUpdate
rollingUpdate:
maxUnavailable: 0
maxSurge: 1
template:
metadata:
labels:
app: astrology-app
spec:
containers:
- name: astrology-app
image: ghcr.io/your-org/astrology-app:latest
ports:
- containerPort: 3000
envFrom:
- secretRef:
name: vedika-secret
resources:
requests:
memory: "128Mi"
cpu: "100m"
limits:
memory: "512Mi"
cpu: "500m"
livenessProbe:
httpGet:
path: /health
port: 3000
initialDelaySeconds: 30
periodSeconds: 10
failureThreshold: 3
readinessProbe:
httpGet:
path: /health
port: 3000
initialDelaySeconds: 10
periodSeconds: 5
failureThreshold: 2
Step 5: Service and Ingress
The Service exposes pods internally; the Ingress handles external HTTPS traffic:
apiVersion: v1
kind: Service
metadata:
name: astrology-app-svc
spec:
selector:
app: astrology-app
ports:
- protocol: TCP
port: 80
targetPort: 3000
type: ClusterIP
apiVersion: networking.k8s.io/v1
kind: Ingress
metadata:
name: astrology-app-ingress
annotations:
kubernetes.io/ingress.class: "nginx"
cert-manager.io/cluster-issuer: "letsencrypt-prod"
nginx.ingress.kubernetes.io/proxy-read-timeout: "120"
spec:
tls:
- hosts:
- astrology.yourdomain.com
secretName: astrology-tls
rules:
- host: astrology.yourdomain.com
http:
paths:
- path: /
pathType: Prefix
backend:
service:
name: astrology-app-svc
port:
number: 80
Step 6: Horizontal Pod Autoscaler
Traffic spikes during eclipses and Mercury retrograde are predictable but intense. HPA scales your pods automatically:
apiVersion: autoscaling/v2
kind: HorizontalPodAutoscaler
metadata:
name: astrology-app-hpa
spec:
scaleTargetRef:
apiVersion: apps/v1
kind: Deployment
name: astrology-app
minReplicas: 2
maxReplicas: 10
metrics:
- type: Resource
resource:
name: cpu
target:
type: Utilization
averageUtilization: 70
- type: Resource
resource:
name: memory
target:
type: Utilization
averageUtilization: 80
kubectl apply -f k8s/
kubectl get pods -l app=astrology-app
kubectl get hpa astrology-app-hpa
kubectl get hpa --watch
Ready to Deploy Your Astrology App?
Get a Vedika API key and start with our FREE Sandbox — 465+ mock endpoints, no credit card required. Production plans from $12/month.
Get Your API Key
Step 7: GitHub Actions CI/CD Pipeline
Automate building, testing, and deploying your containerized astrology app on every push to main:
name: Build and Deploy Astrology App
on:
push:
branches: [main]
pull_request:
branches: [main]
env:
REGISTRY: ghcr.io
IMAGE_NAME: ${{ github.repository }}/astrology-app
jobs:
test:
runs-on: ubuntu-latest
steps:
- uses: actions/checkout@v4
- uses: actions/setup-node@v4
with:
node-version: '20'
cache: 'npm'
- run: npm ci
- run: npm test
- run: npx tsc --noEmit
build-and-push:
needs: test
runs-on: ubuntu-latest
if: github.ref == 'refs/heads/main'
permissions:
contents: read
packages: write
steps:
- uses: actions/checkout@v4
- name: Log in to GitHub Container Registry
uses: docker/login-action@v3
with:
registry: ${{ env.REGISTRY }}
username: ${{ github.actor }}
password: ${{ secrets.GITHUB_TOKEN }}
- name: Extract Docker metadata (tags)
id: meta
uses: docker/metadata-action@v5
with:
images: ${{ env.REGISTRY }}/${{ env.IMAGE_NAME }}
tags: |
type=sha,prefix=sha-
type=raw,value=latest
- name: Build and push Docker image
uses: docker/build-push-action@v5
with:
context: .
push: true
tags: ${{ steps.meta.outputs.tags }}
cache-from: type=gha
cache-to: type=gha,mode=max
deploy:
needs: build-and-push
runs-on: ubuntu-latest
steps:
- uses: actions/checkout@v4
- name: Configure kubectl
uses: azure/k8s-set-context@v4
with:
method: kubeconfig
kubeconfig: ${{ secrets.KUBECONFIG }}
- name: Update image tag in Deployment
run: |
kubectl set image deployment/astrology-app \
astrology-app=${{ env.REGISTRY }}/${{ env.IMAGE_NAME }}:sha-${{ github.sha }}
- name: Wait for rollout
run: |
kubectl rollout status deployment/astrology-app --timeout=300s
- name: Smoke test
run: |
curl -f https://astrology.yourdomain.com/health
Step 8: Add Secrets to GitHub Actions
Store sensitive values in GitHub repository secrets — never in YAML files:
KUBECONFIG
VEDIKA_API_KEY
- name: Sync Vedika API key to K8s secret
run: |
kubectl create secret generic vedika-secret \
--from-literal=VEDIKA_API_KEY=${{ secrets.VEDIKA_API_KEY }} \
--from-literal=NODE_ENV=production \
--dry-run=client -o yaml | kubectl apply -f -
Step 9: Ingress Rate Limiting
Protect your Vedika API budget from abuse with nginx-ingress rate limiting at the Kubernetes layer:
annotations:
nginx.ingress.kubernetes.io/limit-rps: "10"
nginx.ingress.kubernetes.io/limit-connections: "20"
nginx.ingress.kubernetes.io/limit-burst-multiplier: "5"
nginx.ingress.kubernetes.io/proxy-body-size: "1m"
Step 10: Node.js App — Calling Vedika API
A complete example of the Node.js app that your container runs, showing Vedika API integration with environment-based key injection:
import express from 'express';
const app = express();
app.use(express.json());
const VEDIKA_API_KEY = process.env.VEDIKA_API_KEY;
const VEDIKA_BASE = 'https://api.vedika.io';
if (!VEDIKA_API_KEY) {
console.error('VEDIKA_API_KEY not set — exiting');
process.exit(1);
}
app.get('/health', (req, res) => {
res.json({ status: 'ok', uptime: process.uptime() });
});
app.get('/ping', (req, res) => res.send('pong'));
app.post('/birth-chart', async (req, res) => {
const { datetime, latitude, longitude, timezone = '+05:30' } = req.body;
try {
const response = await fetch(`${VEDIKA_BASE}/v2/astrology/birth-chart`, {
method: 'POST',
headers: {
'Content-Type': 'application/json',
'Authorization': `Bearer ${VEDIKA_API_KEY}`!
},
body: JSON.stringify({ datetime, latitude, longitude, timezone })
});
if (!response.ok) {
const err = await response.json();
return res.status(response.status).json(err);
}
const data = await response.json();
res.json(data);
} catch (e) {
res.status(500).json({ error: 'Internal server error' });
}
});
app.post('/chat', async (req, res) => {
const { question, birthDetails, language = 'en' } = req.body;
const response = await fetch(`${VEDIKA_BASE}/api/v1/astrology/query`, {
method: 'POST',
headers: {
'Content-Type': 'application/json',
'Authorization': `Bearer ${VEDIKA_API_KEY}`!
},
body: JSON.stringify({ question, language, birthDetails })
});
const data = await response.json();
res.status(response.status).json(data);
});
app.listen(3000, () => console.log('Astrology app running on port 3000'));
Production Checklist
Before going live with your containerized astrology app:
- Secrets: Vedika API key in K8s Secret, never in image or YAML
- Health checks: Both
/health and /ping endpoints respond under 5s
- Resource limits: Memory and CPU limits set to prevent runaway pods
- HPA: Min 2 replicas for high availability, max 10 for traffic spikes
- Rolling updates:
maxUnavailable: 0 for zero-downtime deploys
- Rate limiting: nginx-ingress annotations protect your API budget
- HTTPS: cert-manager with Let's Encrypt for free TLS certificates
- Image tags: Use git SHA tags (not
:latest) for reproducible deploys
Why Choose Vedika API?
Production-Ready
99.9% uptime SLA, rate limiting, secure authentication, and comprehensive error responses for containerized apps.
516+ Endpoints
Birth charts, yogas, dashas, transits, Kundali matching, numerology, panchang, and more — one API for everything.
AI-Powered
The only astrology API with a built-in AI engine. One endpoint answers natural language questions about any chart.
Vedika Ephemeris
Astronomical-grade planetary calculations. The same precision as NASA ephemeris data.
MCP Server
World's first astrology MCP server. Your AI agents and automation pipelines can call Vedika natively.
30 Languages
Containerized apps serving global users can pass language codes and get responses in Hindi, Tamil, Arabic, and 27 more.
Pricing
Vedika API pricing scales with your containerized app's usage:
- Starter Plan: $12/month — Wallet credits for early-stage apps
- Professional Plan: $60/month — For apps with regular traffic
- Business Plan: $120/month — For production K8s clusters serving real users
- Enterprise Plan: $240/month — Unlimited usage with add-on credit top-ups
All plans include 516+ endpoints, AI chatbot, and 30-language support. View detailed pricing
Conclusion
Docker and Kubernetes give your astrology app the production infrastructure it needs to handle traffic spikes, deploy without downtime, and scale automatically. Combined with Vedika API's 516+ endpoints and AI-powered predictions, you can build a production-grade astrology platform that competes with the biggest names in the space.
- Multi-stage Dockerfile: Production images under 150MB with only runtime dependencies
- docker-compose: One-command local development environment for your whole team
- Kubernetes Secrets: API keys stored encrypted in etcd, never in images or YAML
- Health probes: Liveness and readiness probes prevent bad pods from serving traffic
- HPA scaling: Automatic pod scaling during Mercury retrograde traffic spikes
- GitHub Actions: Build, test, and deploy on every push with zero manual steps
Next steps:
- Get your Vedika API key at vedika.io/signup
- Clone the starter Node.js app from our documentation
- Build the Docker image and deploy to your cluster
- Set up GitHub Actions for automated CI/CD
- Configure HPA and watch your app scale automatically
About Vedika Intelligence: Vedika is the only B2B astrology API with AI-powered chatbot capabilities, serving production apps worldwide. Our API runs on containerized infrastructure with 99.9% uptime — the same architecture principles described in this guide.